Here are the Steps to Setup ATOM Code Editor for React Native Development. To know more about the code editors for React Native Development please visit Choosing Code Editor for React Native Development.
ATOM code editor is a modern, approachable, yet hackable editor made for the 21st century. Atom is widely used by developers for all major technologies. It has a huge active community hence there are always enhancements/plugins available for everything.

- Platform: Windows, Mac, Linux.
- Features:
- Cross-platform editing
- Built-in package manager
- Smart auto-completion
- File system browser
- Multiple panes
- Find and replace
Steps to Setup ATOM Code Editor
Here are the steps to Setup ATOM Code Editor for React Native development
1. Installation of ATOM Code Editor
To start working with ATOM go to https://atom.io and download the ATOM setup as per your OS.
1.1. Windows User:
To install ATOM code editor in Windows you can download the executable file and follow the installer instructions to install the editor.
1.2. Linux Users:
To install ATOM code editor in Linux operating system you can download the .deb file (atom-amd64.deb) and can run the following command on the terminal to install it in your Linux machine.
sudo dpkg -i /path/to/deb/fileFor Example, my .deb file is in the Downloads directory so the command will become
sudo dpkg -i Downloads/atom-amd64.debAfter running the above command run the following command
sudo apt-get install -fThis will install the Atom code editor in your machine. Now you can search for the Atom from the search menu or in your program files.

Click on the icon and here we go.
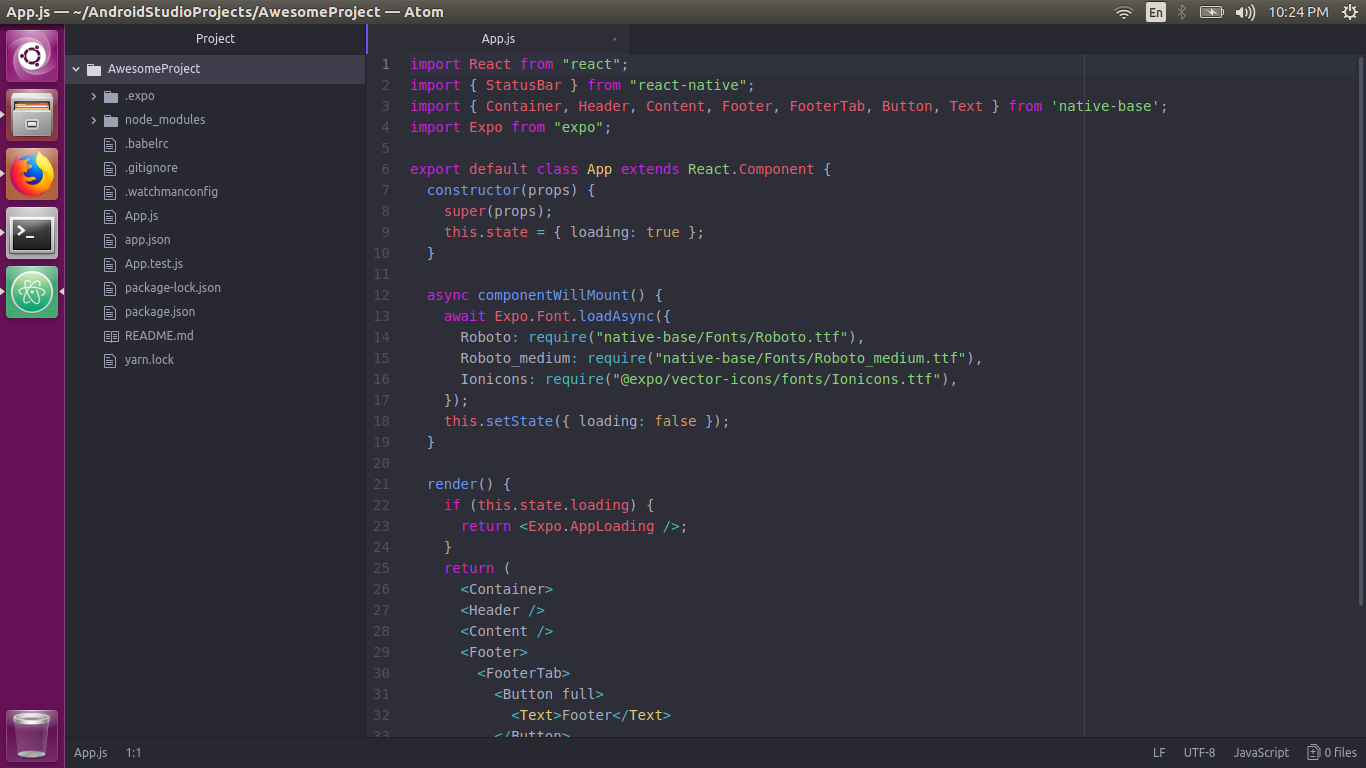
2. Installation of Packages in ATOM
ATOM IDE is a set of optional packages (You can find them here) to bring IDE like functionality to ATOM and improve language integrations.
Let’s see how to install a package in ATOM.
2. 1. Installation of Packages (From Code Editor’s Setting)
In order to install a new package, you can use the Install tab in the now familiar Settings View. Open up the Settings View using Ctrl+, click on the “Install” tab and type your search query into the box under Install Packages.
You can also find other options here like basic editor settings, theme, updates, shortcut etc.
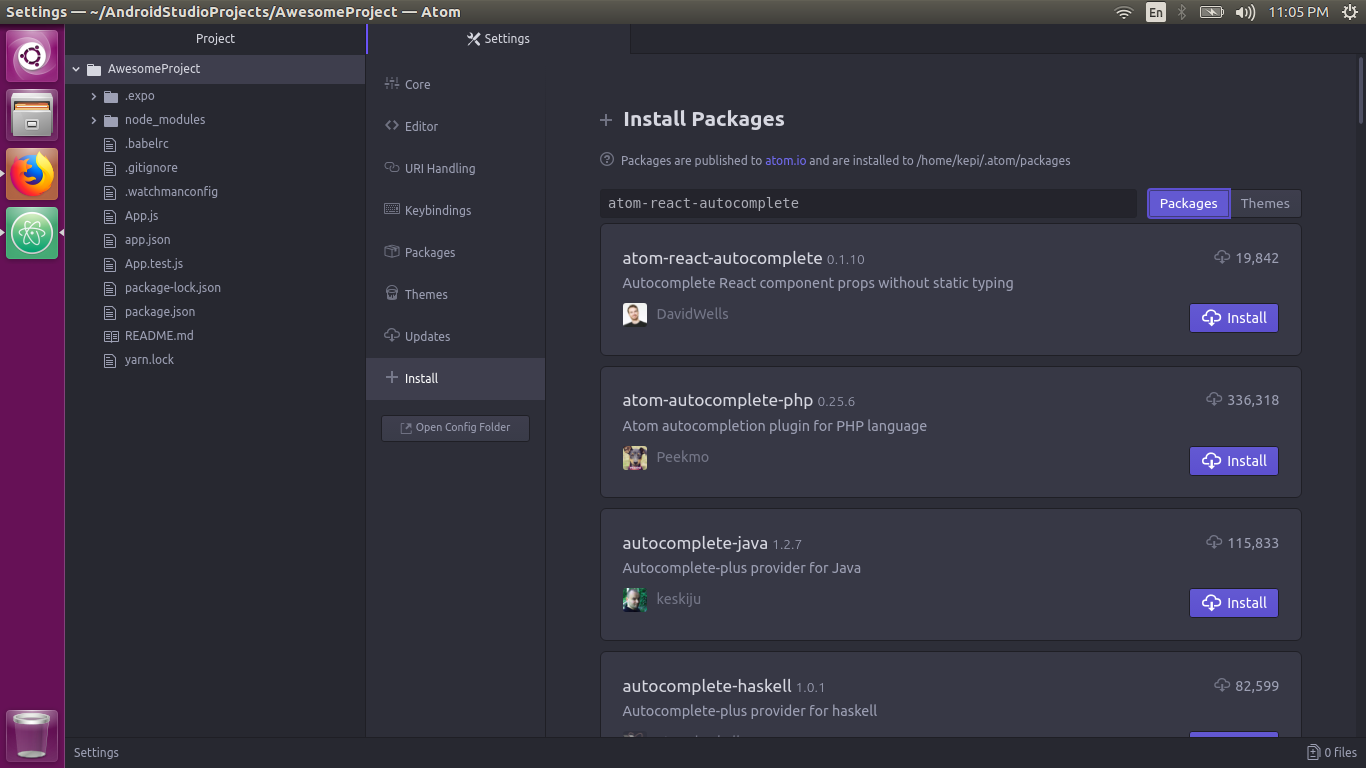
All of the packages will come up with an “Install” button. Clicking that will download the package and install it. Your editor will now have the functionality that the package provides.
Once a package is installed in Atom, it will show up in the Settings View under the “Packages” tab, along with all the preinstalled packages that come with Atom. To filter the list in order to find one, you can type into search box directly under the “Installed Packages” heading.

Clicking on the “Settings” button for a package will give you the settings screen for that package specifically. Here you have the option of changing some of the default variables for the package, seeing what all the command keybindings are, disabling the package temporarily, looking at the source code, seeing the current version of the package, reporting issues and uninstalling the package.
If a new version of any of your packages is released, Atom will automatically detect it and you can upgrade the package from either this screen or from the “Updates” tab. This helps you easily keep all your installed packages up to date.
2.2. Installation of Packages (From Command Line Interface)
You can also install packages or themes from the command line using apm(atom package manager).
Check that you have apm installed by running the following command in your terminal:
apm help installYou can also install packages by using the apm install command:
// To install the latest version.
apm install <package_name>
// To install a specific version
apm install <package_name>@<package_version>
You can also use apm to find new packages to install. If you run apm search, you can search the package registry for a search term.

You can use apm view to see more information about a specific package.

You can search and install as many packages as you can but here are the must-have packages which will help you a lot:
- React React.js (JSX) language support, indentation, snippets, autocomplete, reformatting
- atom-react-native-autocomplete package – It is a package for React-Native autocomplete for Atom text editor
- atom-react-native-css – It is a package to style React-Native components with built-in support for SASS/SCSS. React-native-css turns valid CSS/SASS into the Facebook subset of CSS
- react-native-snippets – It is a package for React Native snippets for Atom
- zenchat-snippets – It is a collection of snippets for react-native, redux and ES6
- atom-xcode – This package bridges the gap between Mac Xcode and atom. Once installed, the iOS simulator can be controlled from within the atom itself
- language-babel – This package includes Language grammar for all versions of JavaScript including ES2016 and ESNext, JSX syntax as used by Facebook React, Atom’s etch and others
We will see the further installations and the usefulness of all this stuff in the upcoming post. If you have any doubt about the topic you can comment below or contact us here.
Hope you liked it. 🙂
Hi there,
I was following along with the steps provided and when I got to this step:
To install nuclide you can search for nuclide in the packages and can install or can
run the following command to install view command line.
I ran into some snags. There were a lot of nuclide packages, but I wasn’t sure which one was the right one since none of them listed react or react-native. I tried the command line option and got this error:
Request for package information failed: Not Found
I’m not sure if this is a current article (since there are references to 2018) and if that is the reason it isn’t working or if it is something else. I also noticed some of the other package names listed weren’t the same but I think I found the corresponding name now. Any help would be appreciated. Thank you!
Thanks for your comment. I found this
Updated the post.